Contact Us
Faculty & Staff IT Support:
Library – 2nd floor
Mon-Fri, 7 am–5 pm
651-290-6411
[email protected]
Access Active Data User name/password: email address and network password.
To make a room reservation/add something to the calendar
On the “Events” tab, click “Add”
Select your department or the department for whom you are reserving space.
Enter an event name.
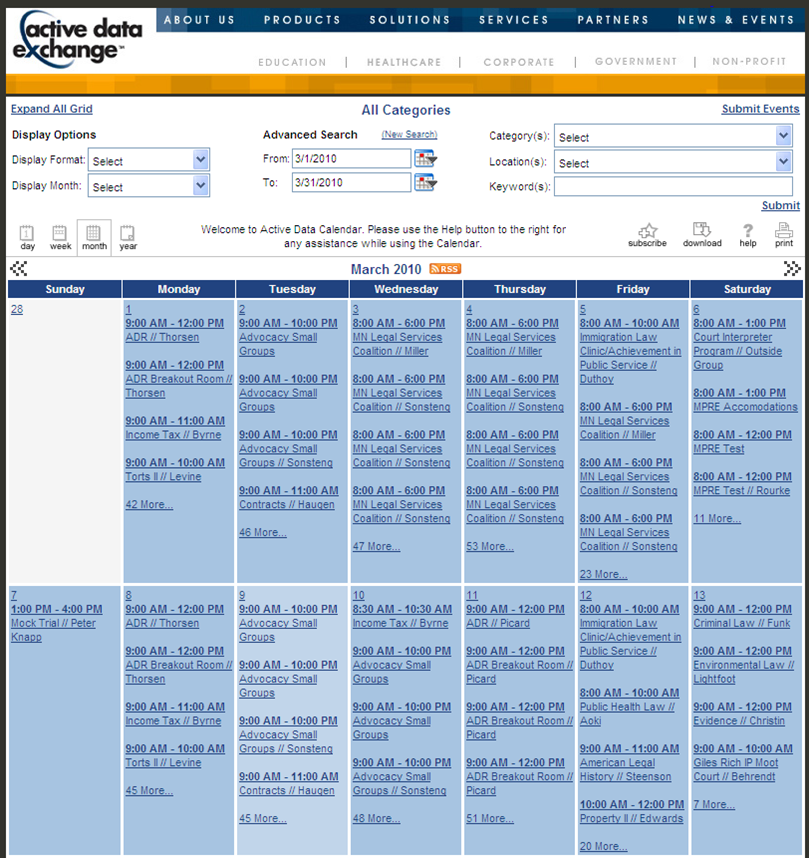
If you would like to add your event to the Master Calendar, select “private calendar” NOTE: if you elect to add your event to the calendar, you must select a category.
Enter an event description.
Click “next.”
If you would like to include an image or attachment such as a flier or photo, do so on this screen.
Click “next.”
Select the manner in which you would like to schedule your event:
- “Select event date(s) – no facility required”: Use if you would like to add an event to the Master Calendar only
- “Select event date(s) to find available facilities”: Use to search for available rooms on specific dates/times
- “Select facility to find available dates”: Use to search for availability of a specific room.
Set your event date(s) and time(s):
- If this is a one-time, no recurrence event, set identical start and end dates and then enter your time below.
- If working with a recurrence that is always at the same time, enter your time and then click either Recur Pattern or Custom Schedule (which will allow you to click the dates you need)
- If working with a recurrence that will happen at different times, select only your dates on the Custom Schedule screen and leave the time field blank
Click “generate schedule.”
If you had not entered start and end times, do so now. NOTE: Be sure that all of the dates you are working with have checks next to them.
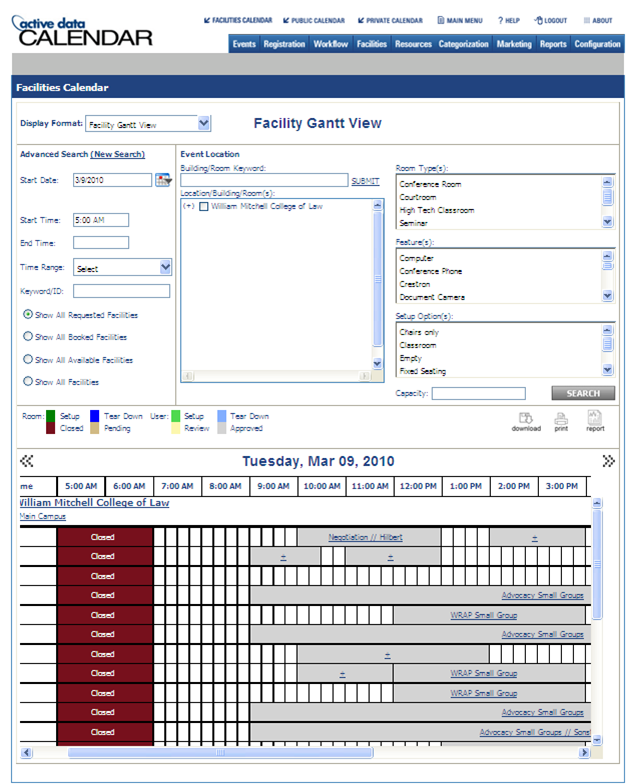
Under Location/Building/Rooms, click the plus signs to expand down the menus. Check the box next to the room you would like. NOTE: For a broader view of what is available, check the box next to “Main Campus.”
Once you have found an available room, check the box next to it in the “schedule facility booking(s)” box.
Click “save.”
If you have room setup or Multimedia needs, click the box next to “Request resources for this Event.”
Click “next.”
Enter optional contact/even information if desired.
Click “next.”
Under Resource Category/Subcategory, select the category of resource that you need.
Select the subcategory/type of resource and click “Add.” NOTE: Some resources have explanations and other information associated with them. To see this, click “View.”
Continue in this manner until all needed resources show in the Items Selected Field.
Include quantity of items where applicable (400 chairs, 3 handheld mics, etc.) and any notes.
Click “next.”
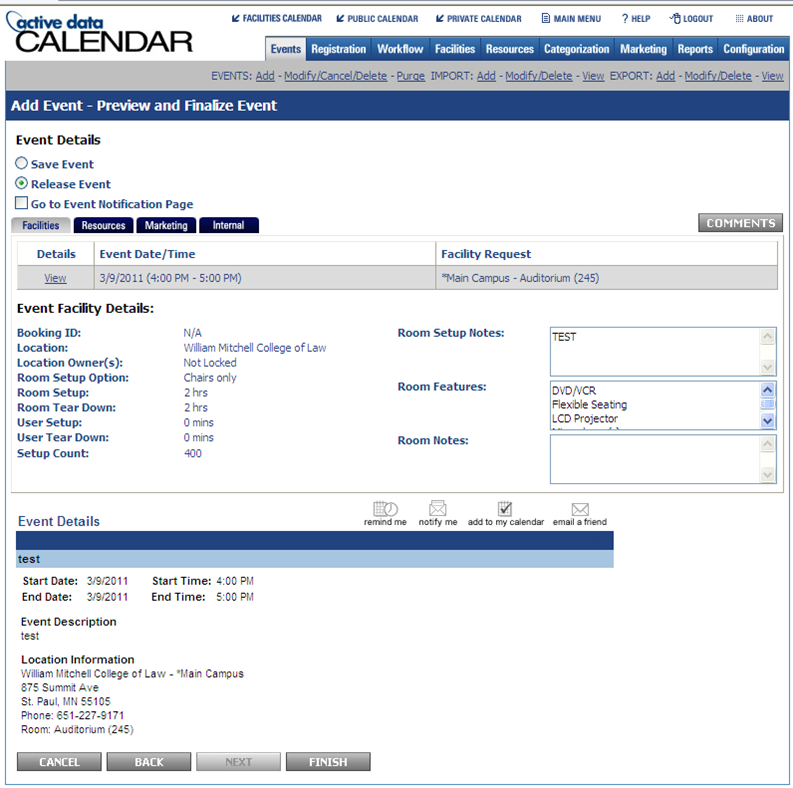
Review your reservation information and click “finish.” NOTE: Be sure that under Event Details, “Release Event” is selected.
If Resources were requested, an email message will be sent to Multimedia, Facilities, or both for approval.


